

[ad_1]
Did you know you can add a Ring Video Doorbell without an electrician or having to fuss with any wires? You don’t even have to have an existing doorbell! We recently added one to our front door and it’s one of the easiest do-it-yourself projects we’ve done in a while.
Note: This is not a sponsored post. We paid our own money ($99!) for our doorbell. This is the exact Ring Video Doorbell we bought.
Why Add A Video Doorbell?
Video doorbells are an increasingly popular home security device, and the Ring Video Doorbell is one of the most popular models out there. With it, we can see and hear what’s going on at our front door from anywhere using the Ring smartphone app. We can even speak through it if we’re not home to a neighbor who stops by or to a delivery person with a package! The doorbell camera is also motion-activated, so we receive notifications when deliveries are put on our front porch. And if someone uninvited were up to no good, we’d receive notification and have a video (with sound) of the incident – which makes it a nice deterrent to any potential trespassers. It’s basically a superpowered doorbell that offers lots of peace of mind.
We also chose a Ring Video Doorbell because they offered both wired and wireless options. We bought the wireless option because we didn’t have an existing doorbell to replace. Specifically, we got the Ring Video Doorbell (2nd Gen). It took us less than 10 minutes to add and involved zero wires or electrical work. Really easy!
Installing A Wireless Ring Doorbell
You can see how easy the installation process is by watching the 2-minute video below. And there’s additional information and photos below the video.
Note: You can also watch this video on YouTube.
Tools Needed To Install A Ring Doorbell
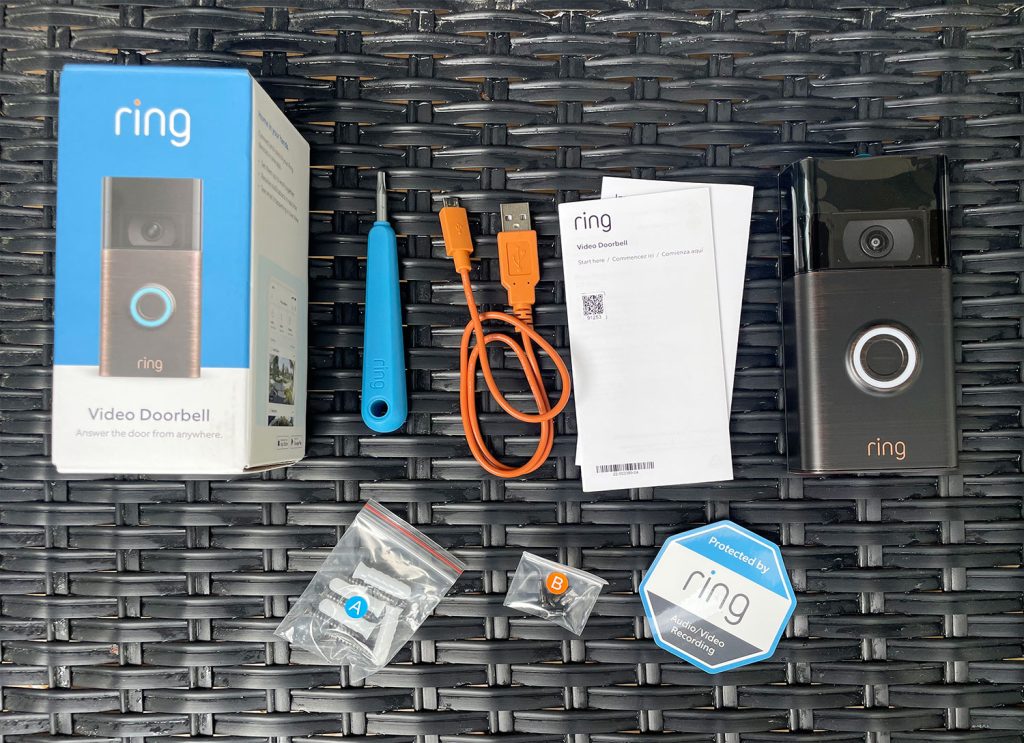
Ring includes almost everything you will need to install your video doorbell in the box. They provide screws, a charging cord, and even a small screwdriver. However, you’ll need a few other items on hand:
Step 1: Charge The Battery
Ring recommends fully charging your doorbell’s battery before installation. This takes several hours (ours took about 8 hours) so be sure to begin this ahead of time or your installation will stall right out of the gate. This model does not have a removable battery and instead just plugs into the back of the doorbell itself.
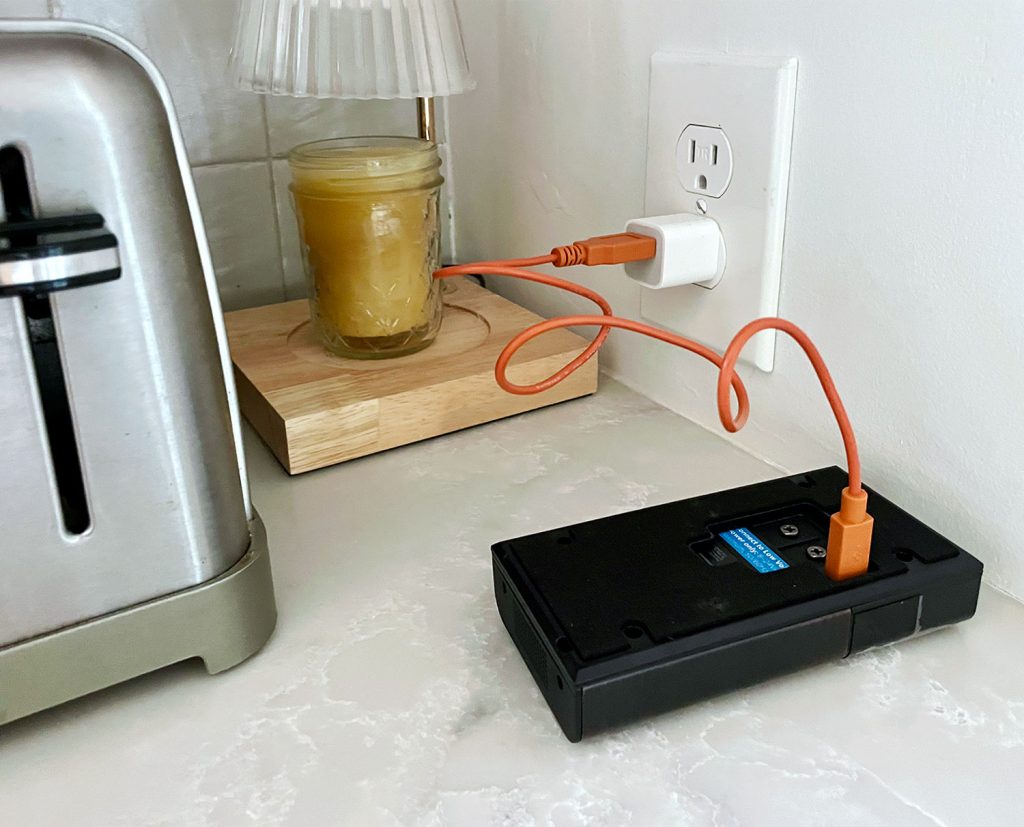
There is a blue light on the front of the doorbell that indicates the charging progress. The ring will be fully blue once your battery is ready to go.
Step 2: Set Up The Ring App
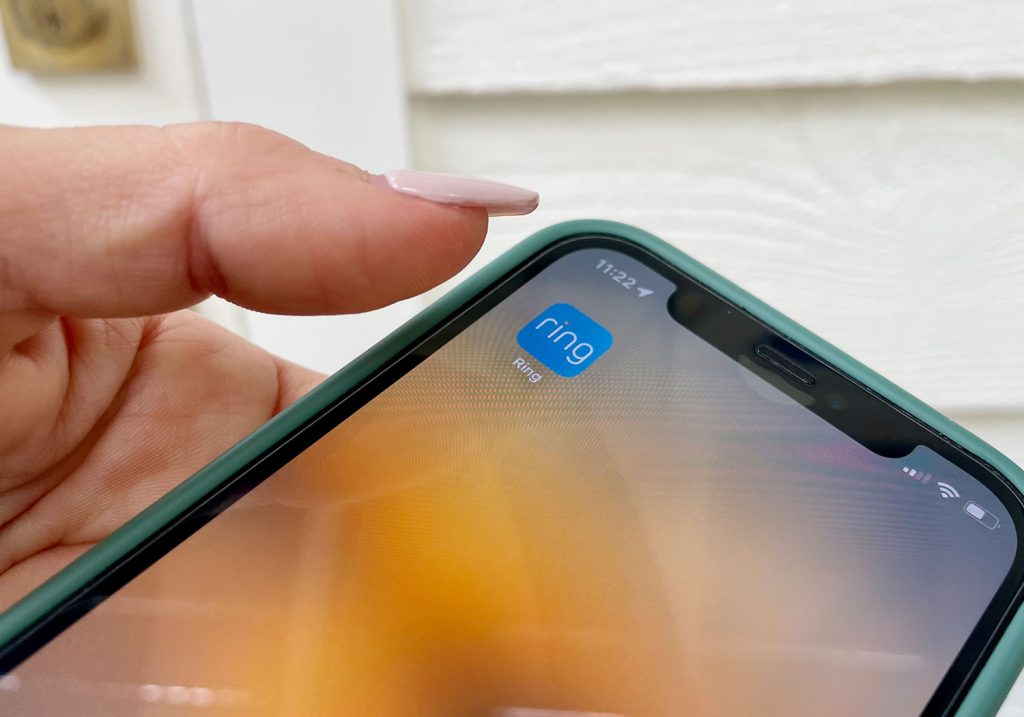
While your battery is charging, download the free Ring app onto your smartphone and create an account if don’t already have one. This is the app you’ll use to access the doorbell’s features like viewing the camera remotely or getting motion alerts. It will also guide you through the setup process. Here is the link to the Ring app for iPhone and the Ring app in Google Play.
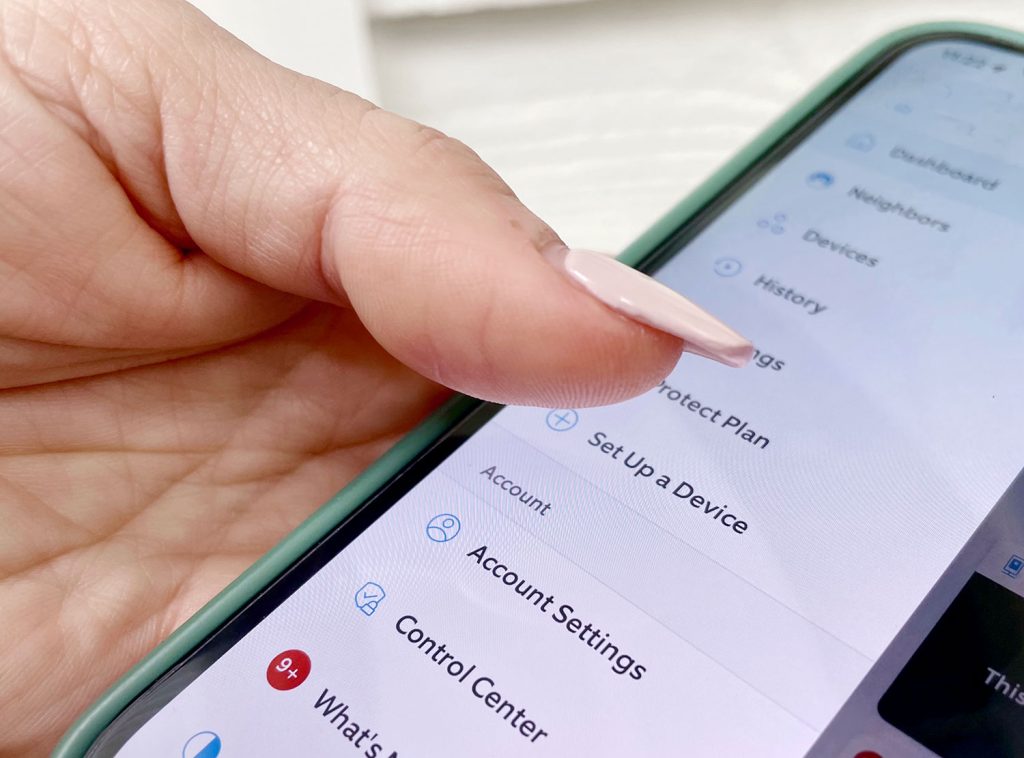
Once your doorbell battery is charged, you can begin the installation process. The Ring app has a helpful step-by-step guide that will take you through both the physical and online installation of your new doorbell. You can begin this process by clicking the 3 horizontal lines in the top left corner, then clicking “Set Up a Device” as shown below.
We won’t detail every part of this app setup here, but there is a step in which you’ll sync the app to your exact device. This is done by scanning the device’s unique QR code, which can be found on the back of the doorbell (under the mounting plate) or on the back of the instruction manual.

Part of this process will also involve connecting the doorbell to your home internet, so have your wifi password handy!
Step 3: Attach The Doorbell Mounting Plate
Next, you will hang the doorbell’s mounting plate to the exterior of your home. The plate is a slim detachable plate that gently snaps off the back of the doorbell. The process for hanging it depends on the surface you are attaching it to. We hung ours on the wood trim around our door, but it can also be added to siding, brick, or stone. There’s even a no-drill option we’ll discuss below!
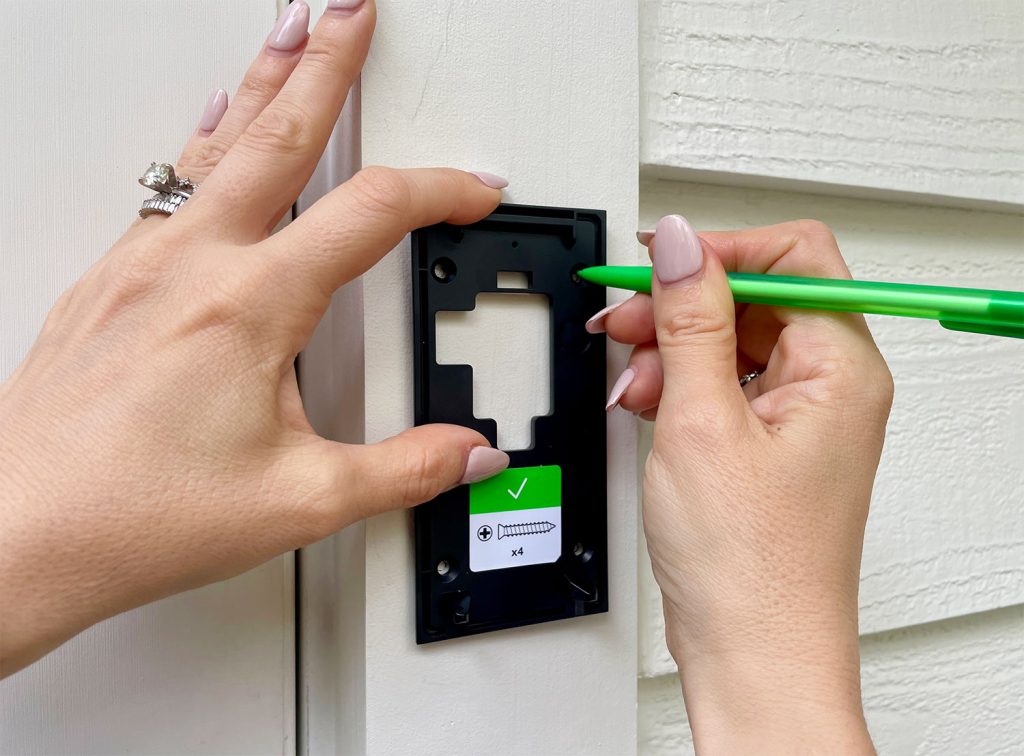
First, you’ll want to determine the placement of your doorbell. Ring recommends placing it at least 4ft from the ground. You may want to use a measuring tape to check this, as well as to make sure it’s centered on your trim. We also recommend using a small level to make sure it is straight. Once you have it in place, use a pencil to mark the four holes in the corners of the plate.
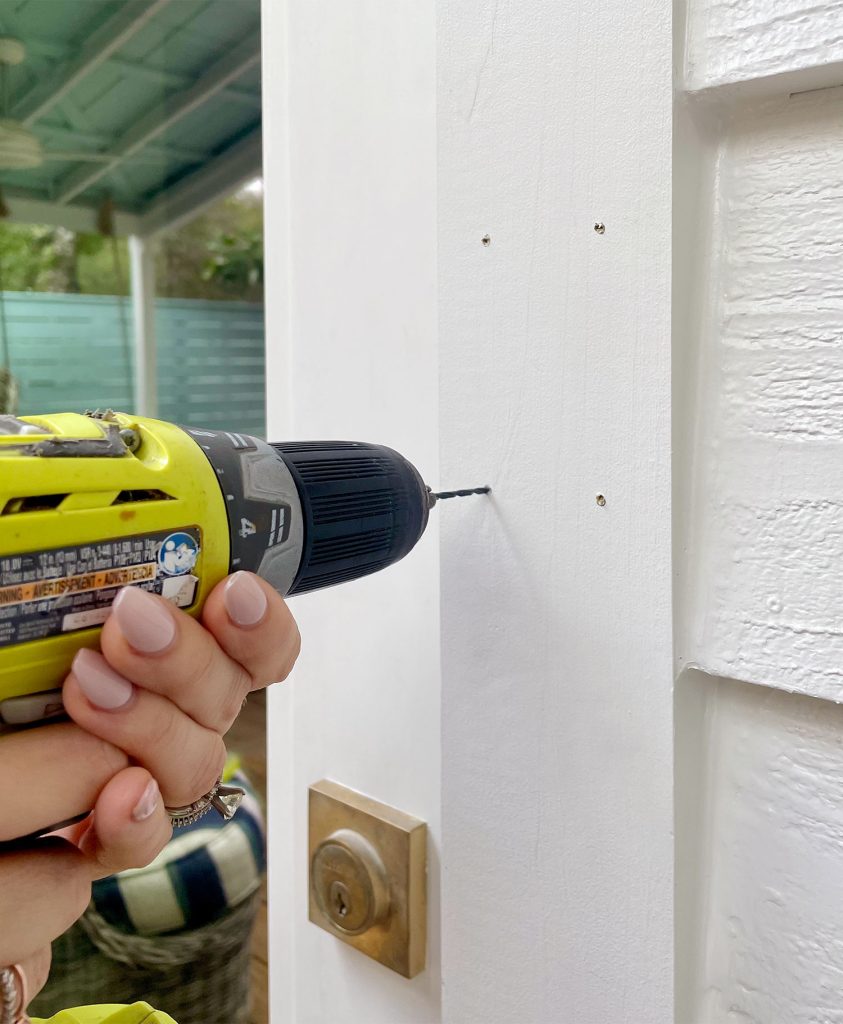
To avoid splitting your wood trim, we always advise using a drill to make pilot holes first. This is also a step you’ll need to take if you’re drilling into brick or stone, since you’ll need to insert the anchors that Ring provides. To make pilot holes in brick, you’ll likely need a masonry drill bit and/or hammer drill.
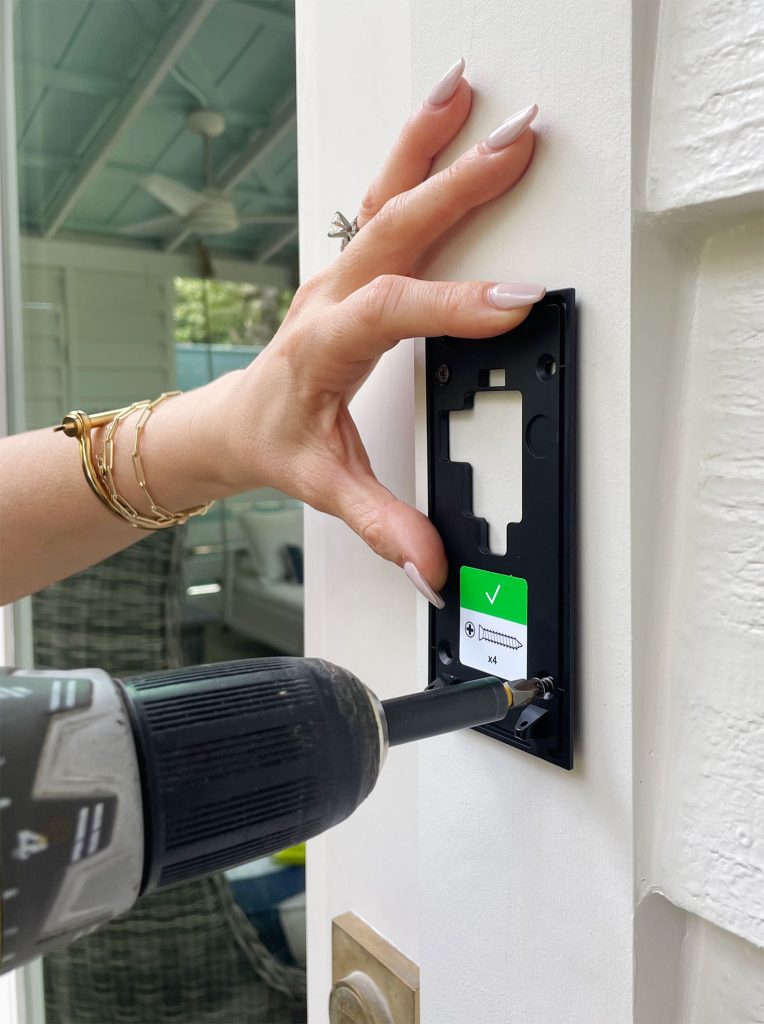
With your pilot holes drilled, you can now use a screwdriver and the provided screws to secure the mounting plate to your home. Be sure to use the longer screws from bag A, as indicated in the instructions. Our mounting plate even had a sticker to remind us too!
If you can’t drill into your siding – say you’re a renter or just don’t want to – you can buy an adhesive mount instead. You can also find other after-market mounts like those meant for vinyl siding or adjustable mounts that swivel. Just make sure you’re purchasing one that works with your doorbell’s exact model.
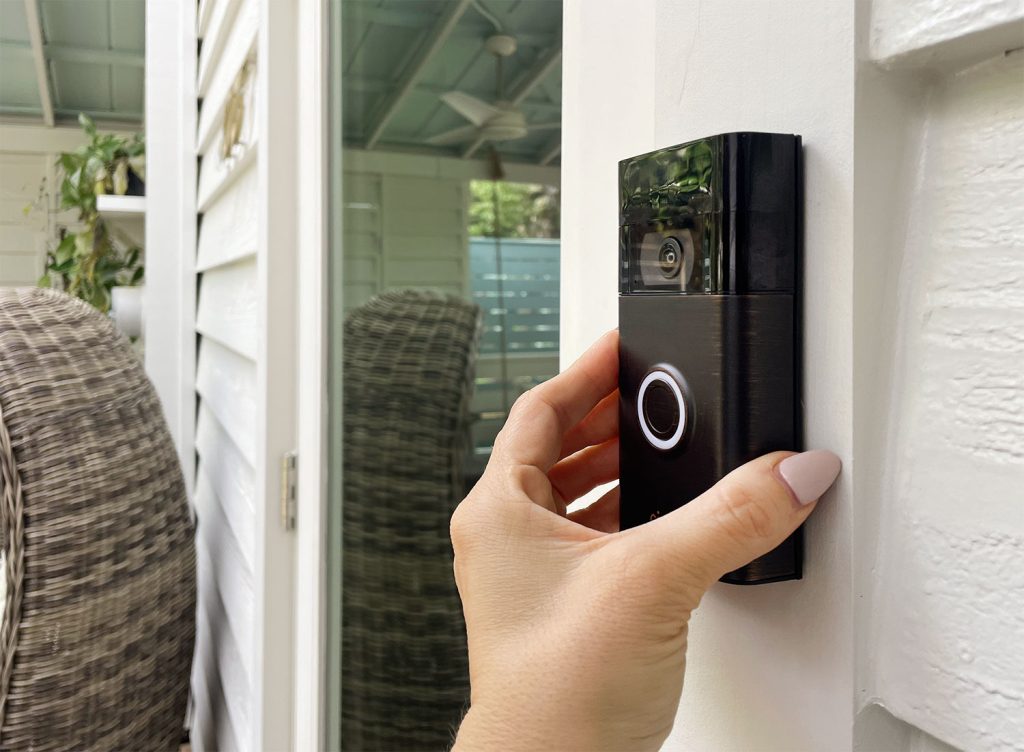
Step 4: Secure Your Doorbell To The Mount
Next, snap your doorbell back onto the mount. Don’t push hard. It shouldn’t take any force.
Then use the short screws (in Bag B) and provided screwdriver to secure the doorbell in place. This not only prevents the doorbell from falling or getting knocked out of place, but will also deter someone from removing or stealing the doorbell itself.
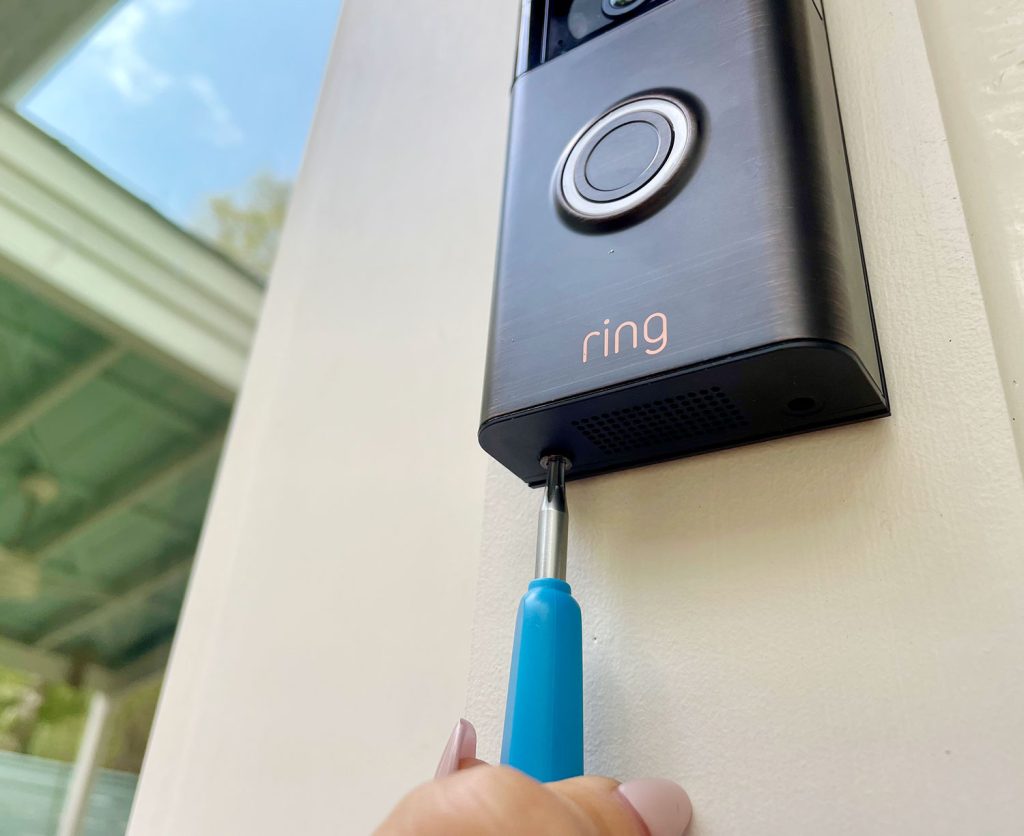
These security screws have a special shaped head to discourage theft, so be sure to hang on to that screwdriver! There is also a spare screw included, which seems handy if one rolls under your deck or something.
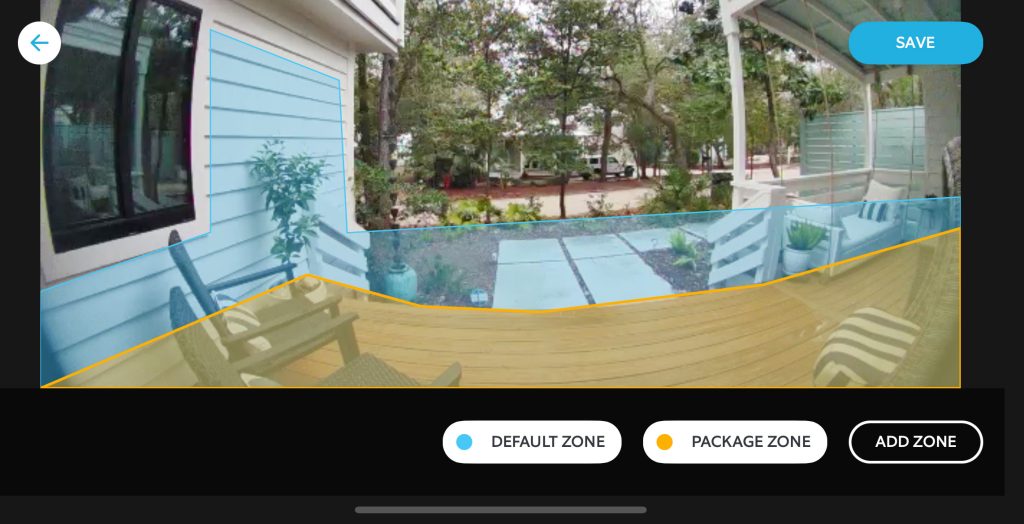
Step 5: Configure Your Doorbell In The App
The final steps involve configuring your doorbell settings within the app. The setup process will walk you through these options and can be changed at any time by clicking the gear icon in the app. Settings include things like designating “motion zones” for people and packages, and adjusting what events you’d like to trigger notifications to your phone.
It may take some trial and error to get these exactly to your liking. You can always turn off certain alerts if you get too many or if you find yourself having to recharge your battery too frequently.
Other Ring Video Doorbell FAQs
Is it easy to install a Ring Doorbell?
Yes! If you can operate a screwdriver and a smartphone, then you can totally install a video doorbell yourself (especially a wirless model). The wired Ring Doorbells do involve connecting low-voltage wires, but this is simple for most homeowners to do as well.
Do you need an electrician to install a Ring Doorbell?
No, both the wired and wireless video doorbells can be installed without an electrician. The wired version only involves low-voltage wiring which is relatively easy to work with. Just be sure the proper breaker is turned off before you begin your work. However, don’t hesitate to hire an electrician if you are not comfortable performing the work yourself.
You may also need the help of an electrician if you don’t already have a wired doorbell. However, in that case, we recommend installing a wireless model like ours.
Does installing a Ring Doorbell involve wiring?
No, the battery-operated Ring doorbell model we installed does not involve any wiring. Unless you count the USB charging cord, I guess. Ha! As I mentioned in the last question, the wired models (like the Ring Wired Doorbell Plus) do involve low-voltage wiring. This is the wiring that already exists behind most traditional doorbells.
How do I choose between a wired or wireless Ring Doorbell?
If you already have a wired doorbell (like most traditional doorbells) then it’s probably best to choose a wired video doorbell. These models are typically smaller and don’t require regular battery charging. Plus, it’s easier to reuse your existing wires than to have them removed. Wireless models are best for those without existing doorbells or for renters who cannot add a wired model.
Does a Ring Doorbell require a subscription?
No, a Ring subscription is not required. However, you can unlock additional features with a Ring Protect Plan. Most notably, it will allow you to record video and playback past video events. Without one, you will still get real-time notifications and can view live video. Currently, plans start as low as $4/month or $40/year.
Do I need to buy anything else?
The box comes with everything you need for a basic installation. However, here are some additional purchases you may want to consider:
- Chime: Since wireless video doorbells don’t tap into an existing wired chime box, you may want to add this small wireless device. It plugs into an outlet and plays doorbell notifications in your home, just like a traditional doorbell chime. We got one and love all the sound options.
- Wedge Kit: If you have stairs leading to your front porch like ours, you’ll want your doorbell camera angled downward to better capture people approaching. This kit is installed behind your doorbell’s mounting plate to tip your doorbell slightly (we got one and it’s great). There are also corner wedge kits that are available as well.
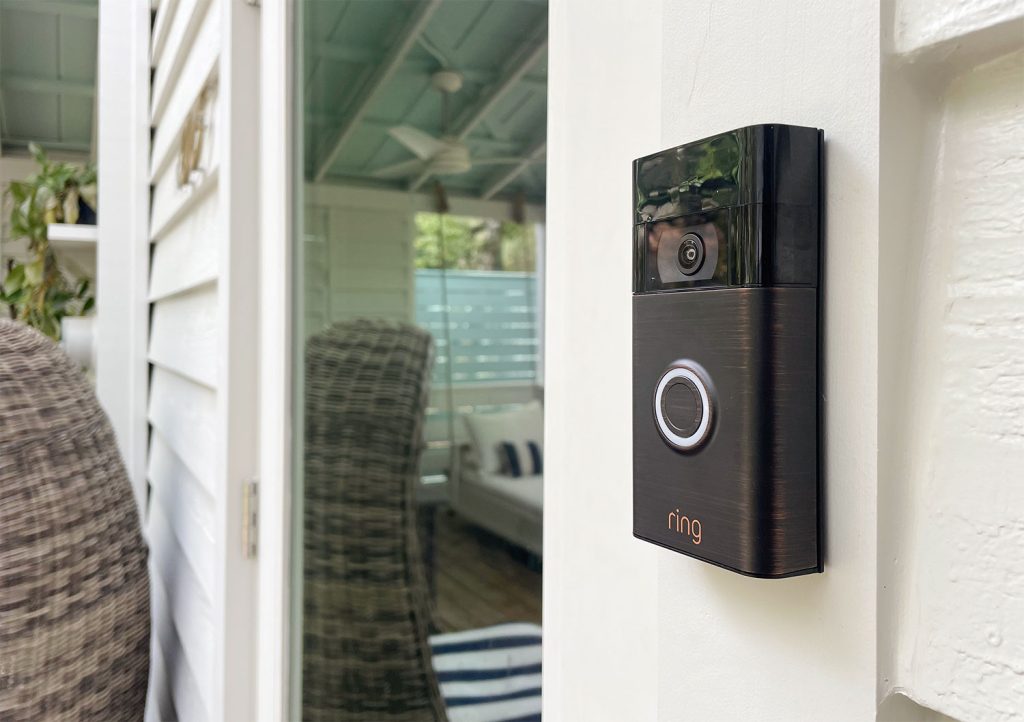
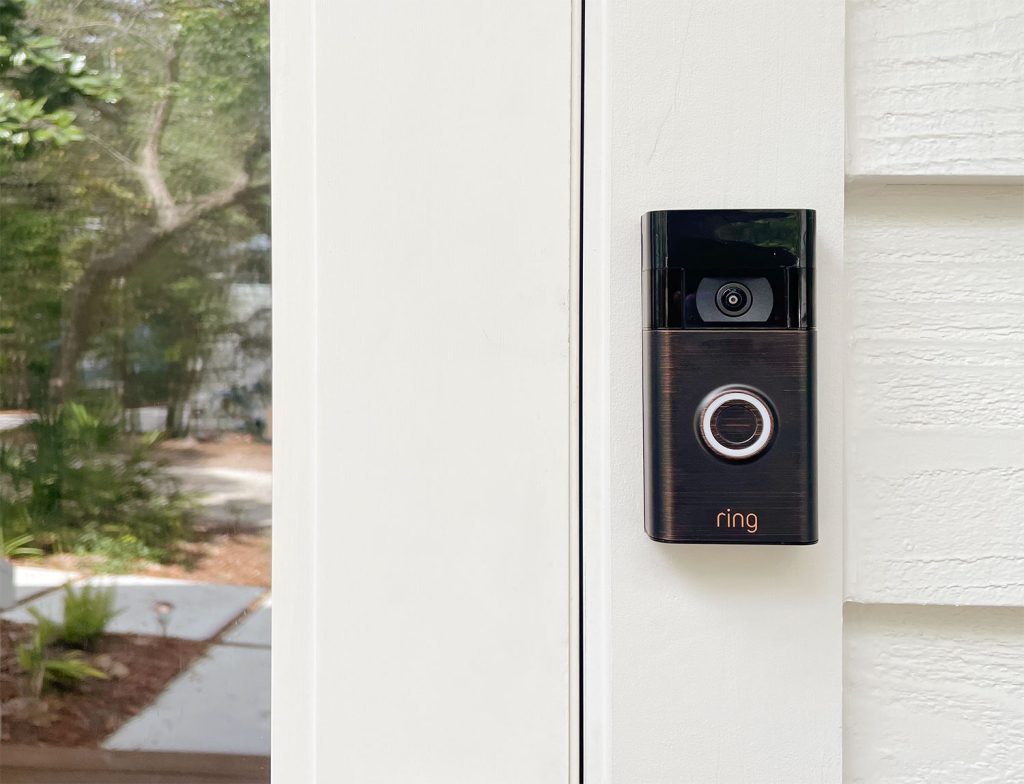
- Faceplate Covers: These are 3 different metallic colors you can buy to change the look of your doorbell. They come in Brushed Bronze (medium gold), Brushed Graphite (dark gray), and Brushed Silver (light gray). The oil-rubbed bronze color shown in this post is the stock Venetian Bronze that came with our Ring, and we love it. It ties right into our dark windows and metal rocking chairs nearby.
- Solar Charger: Mounted behind the doorbell, this solar panel can save you from having to charge your battery as much (or ever!) depending on your front door’s sun exposure.
*This post contains affiliate links, so we may earn a small commission when you make a purchase through links on our site at no additional cost to you.
More posts from Young House Love
[ad_2]
Source link


